


Changing your existing tap, such as to replace kitchen mixer taps, involves ensuring that the mounting surface is properly prepared, along with having the necessary tools ready . Whether your tap is leaking, outdated, or simply not working as well as it should, replacing it can enhance the look and functionality of your kitchen with minimal effort.
In this guide, we’ll walk you through the entire process of how to change kitchen sink tap — from recognising when it’s time to replace it, selecting the right tap for your needs, to installing it correctly, including a list of tools required, such as adjustable pliers for better grip. . We’ll also share some useful tips, including how using an adjustable wrench can help avoid common mistakes and help you know when it’s best to call in a licensed plumber.
Signs Your Kitchen Tap Needs Replacing
Your kitchen tap gets a lot of use, and over time, it may start showing signs of wear. Addressing plumbing issues early can save you from bigger problems like malfunctioning taps, water wastage, leaks, or even a complete tap failure. Recognising how issues with the mains connection, including knowing the location of the main stopcock, indicate when it’s time to replace your tap is key.
Common Signs It’s Time to Replace Your Tap:
Persistent Leaks:
If your tap continues to leak after replacing washers or O-rings, or tightening the retaining nut doesn’t fix the issue, the tap may need to be replaced if you cannot tighten the nut completely .
Weak or Irregular Water Flow:
A reduction in water pressure or uneven flow may indicate internal corrosion, a blocked aerator, or issues with the hose connections that might involve checking the lower threads . If cleaning doesn’t help, replacing the tap could be necessary.
Stiff or Loose Handles:
Difficulty turning the handles or a wobbly feel may mean the internal mechanism is worn out, particularly in a small space .
Visible Rust or Discolouration:
If you see rust, limescale build-up, or green deposits, especially around the base of the old faucet, it’s time for a replacement, ensuring that sealing ptfe tape is used during installation .
Outdated Appearance:
Even if the tap is still functional, an old-fashioned or mismatched tap may be may be the perfect excuse to upgrade for a fresh look, allowing you to easily replace it with a modern design.
Noisy Operation:
If your tap makes squealing, whistling, or banging noises, loose internal parts or pipe connections could be to blame, which may need to be tightened in a clockwise direction . A new tap may fix the issue.
Water Staining or Pooling:
Leaks around the base could indicate that the tap isn’t sealing properly, which can lead to water damage, especially if you don’t have all the tools needed for maintenanc .
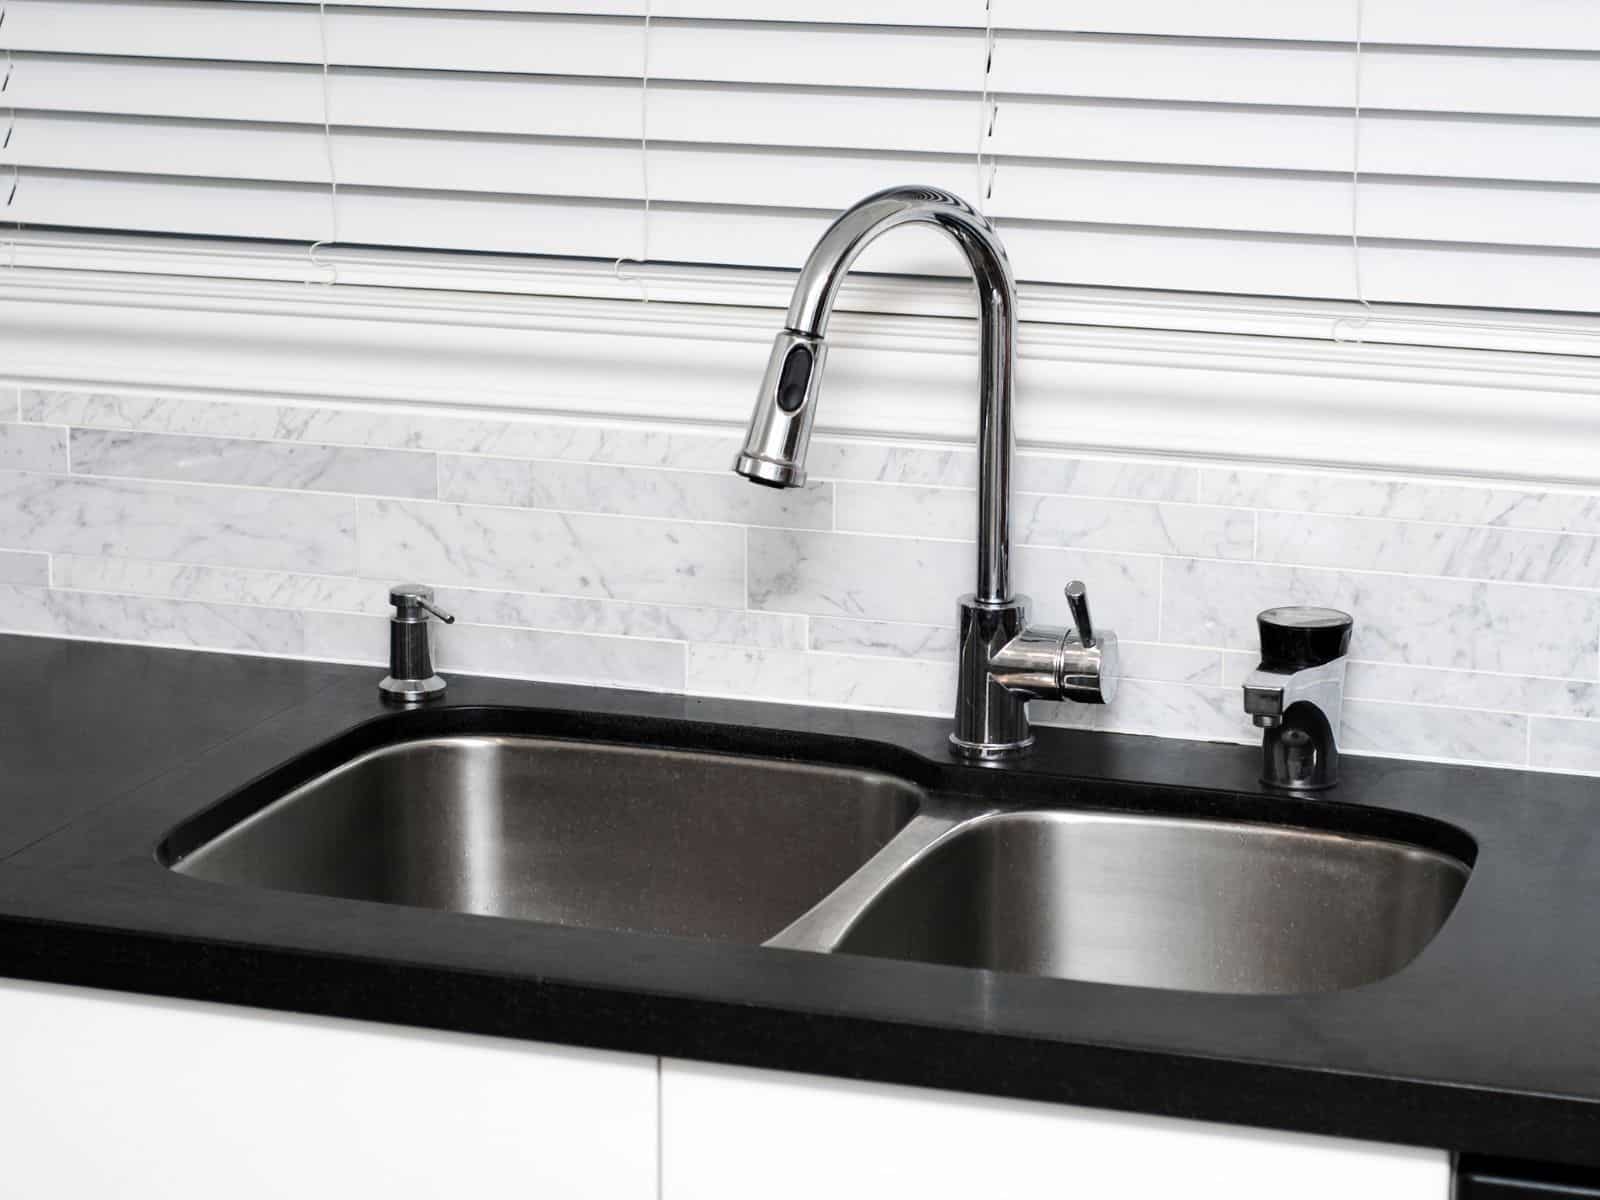
Types of Kitchen Taps Commonly Used in Australia
Australia offers a wide variety of kitchen tap styles, including bridge combination styles, each with its own functionality and aesthetics, to replace your existing tap with a secure water connection . When selecting a new tap, ensure that the mounting plates remain intact, and consider your kitchen’s layout, the number of holes in your stainless steel sink, and your design preferences.
Popular Tap Types:
Single Lever Mixer Taps:
These taps combine hot and cold water through a single lever, making them easy to use and ideal for modern kitchens. Typically, they are compatible with one-hole sinks.
Dual Handle Mixer Taps:
These taps have separate handles for hot and cold water, giving you more precise temperature control with a single block combined design . They often require two or three mounting holes.
Pull-Out or Pull-Down Sprayer Taps:
Equipped with a retractable hose, these taps offer flexibility for washing large items or cleaning the sink. They’re ideal for deep sinks and busy kitchens but can be more complicated to install.
Gooseneck or High-Arc Taps:
These taps feature a tall, curved spout, providing extra clearance for large pots and pans while ensuring a securing stud is properly installed . They’re especially popular in kitchens with deep sinks or open-plan layouts.
Wall-Mounted Taps:
Mounted directly on the wall above the sink, these taps create a minimalist look and free up benchtop space. However, they may require professional installation, especially if plumbing modifications are needed, including the use of ptfe tape for sealing .
Tip: Before purchasing, check the number of holes in your sink, the hole spacing, and whether your sink requires a mounting plate. Also, make sure the tap is compliant with Australian WaterMark Certification and WELS (Water Efficiency Labelling and Standards) ratings.
Tools and Materials You May Need
Changing your kitchen tap doesn’t require an extensive toolkit, but having the right tools on hand, such as an open-ended spanner, can make the job much easier, provided there is enough room to work .
Essential Tools:
Adjustable spanner or wrench
Basin spanner (for tight spaces under the sink)Phillips or flat-head screwdriver
Bucket or shallow container (to catch water)
Plumber’s (Teflon) tape (to seal threads)
Rags or towels (to soak up any water)
Torch or work light (for visibility under the sink)
Optional Extras:
WD-40 or penetrating lubricant (for rusted fittings)
Pipe cutter (only if plumbing modifications are needed)
Silicone sealant (for sealing mounting plates)
A second person (helpful when positioning the tap from above)
Preparing for the Replacement
Proper preparation ensures a smoother installation process and helps avoid mistakes, making it easier to decide when to call a professional plumber, especially if the issues are located underneath the sink .
Step-by-Step Preparation:
1. Turn Off the Water Supply:
Locate the isolation valves under the sink and turn them off (clockwise). If your kitchen doesn’t have isolation valves, turn off the main water supply for the entire house.
2. Release Pressure and Drain Remaining Water:
Open the tap to release any remaining water in the pipes and confirm the water is fully turned off.
3. Clear Space Under the Sink:
Remove any stored items from under the sink to make room for your tools.
4. Place a Bucket or Towels Beneath the Tap Area:
This will catch any drips as you disconnect the hoses.
5. Inspect the New Tap:
Ensure that the new tap fits the existing holes in your sink and has all the necessary components for installation.
Removing the Old Tap
Removing the old tap can be straightforward or a bit tricky, especially with flexible hose connections and pipe connectors, particularly when facing restricted access depending on how long it’s been installed and whether the fittings are corroded.
How to Remove the Old Tap:
- Disconnect the Supply Hoses:
Use a spanner to unscrew the flexible water inlet hoses from the isolation valves. Expect a small amount of water to drain. - Loosen and Remove the Mounting Nuts:
These are usually located beneath the sink. A basin spanner is helpful here. - Lift the Tap Out:
Once the mounting nuts are removed, you should be able to lift the tap out from above the sink.
Tip: If the nuts are rusted or stuck, spray them with WD-40 and wait 10-15 minutes before attempting to loosen them again.
Installing the New Tap
Once the old tap is removed, installing the new one is straightforward if you pay attention to tap alignment , provided you’ve ensured compatibility with your sink and plumbing.
Installation Steps:
1. Feed the Tap Hoses Through the Sink Hole:
Insert the new tap from above, ensuring it’s properly oriented. Use the rubber gasket (if provided) to prevent leaks around the base.
2. Secure the Tap from Beneath:
Attach the mounting bracket and nuts beneath the sink. Tighten evenly, but avoid overtightening to prevent damaging the sink.
3. Connect the Flexible Hoses:
Apply plumber’s tape to the threaded connections and tighten the hoses with your spanner.
4. Turn On the Water Supply:
Slowly open the isolation valves and check for leaks by testing both hot and cold water.
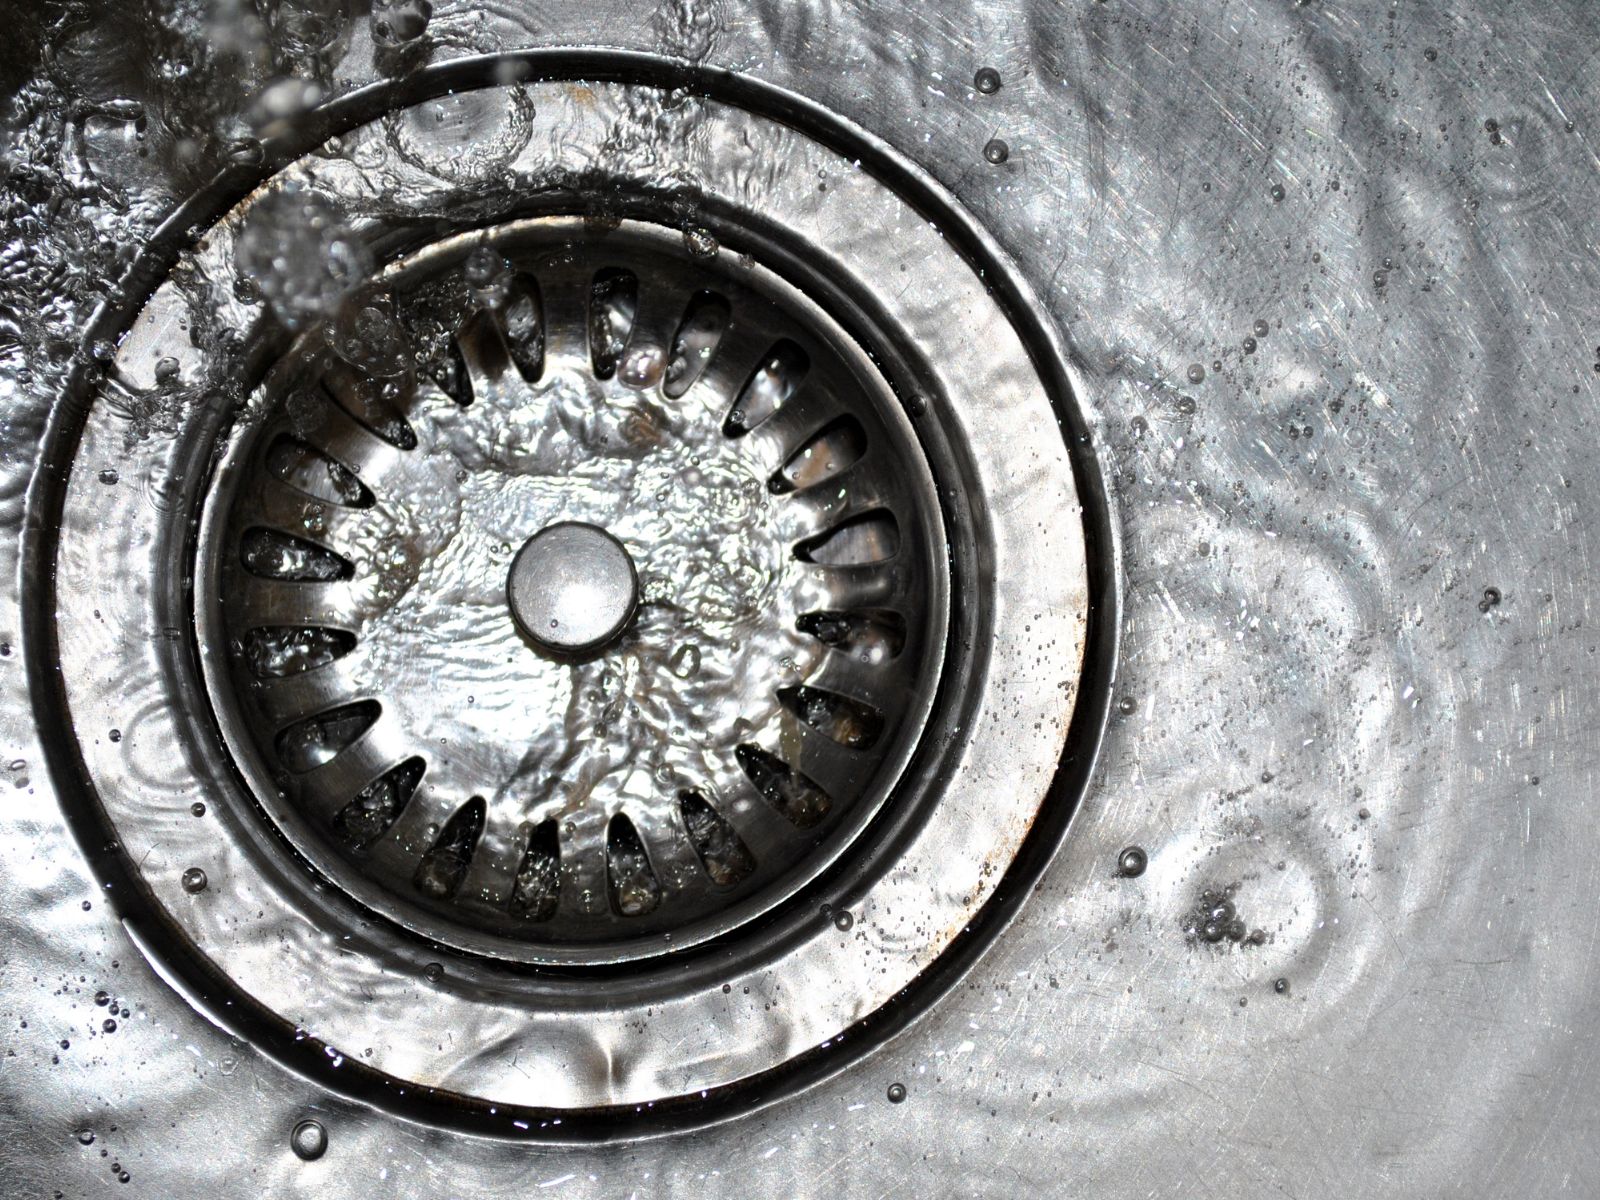
5. Check for Leaks:
Use paper towels or a cloth to check for any drips around the fittings.
Tips for a Smooth DIY Tap Change
1. Measure Before You Buy:
Ensure your new tap is compatible with your sink and plumbing setup.
2. Have Spare Parts on Hand:
Keep extra washers, O-rings, and plumber’s tape in case of issues during installation.
3. Label the Hoses:
Mark the hot and cold hoses before removing them to avoid confusion during reinstallation.
3. Use a Headlamp or Torch:
Good lighting is essential for work under the sink.
4. Take Photos Before Disassembly:
This will help when reconnecting fittings and serve as a reference for future repairs.
When to Call a Licensed Plumber
While replacing a kitchen faucet is often a simple DIY task, ensuring fittings are finger tight can help, and having a dedicated basin wrench can make the process easier, but there are situations when it’s best to call a licensed plumber.
Call a Plumber If:
You need to modify the pipes or plumbing layout.
You’re installing a wall-mounted tap, which may require rerouting water lines.
The new tap doesn’t fit your existing plumbing setup.
You’re unsure about Australian plumbing standards.
Persistent leaks occur, despite your efforts to fix them.
Changing your kitchen tap is a rewarding DIY project that most Australian homeowners can handle with the right preparation, tools, and attention to detail. If you’re uncertain about any aspect of the installation, including ensuring the integral seals are correctly placed, as well as the associated washers and connector nuts, don’t hesitate to call a licensed plumber to ensure everything is done safely and correctly. With a new mixer tap, you’ll enjoy both improved functionality and a fresh look for your kitchen.


Loading...