


Why You Should Tighten a Loose Toilet Seat
A wobbly toilet seat might seem like a minor inconvenience, but ignoring it can lead to tighter problems down the line. For starters, a loose seat can be unhygienic. When it shifts unexpectedly, it creates gaps where bacteria and grime can accumulate, making your bathroom less sanitary. Over time, this build-up can become difficult to clean and may even contribute to unpleasant odours.
Additionally, a loose seat can gradually damage your toilet. The constant movement places stress on the screws, hinges, and the porcelain bowl itself, which can lead to cracks, chips, or breaks. Replacing a cracked toilet bowl is far more expensive and complicated than tightening a few bolts, so a quick fix today could save you hundreds of dollars later.
From a safety standpoint, a loose seat can also pose a risk—particularly for children, elderly people, or anyone with mobility issues. Sitting on an unstable toilet can cause slips or accidents. Furthermore, if your toilet seat is coming loose, it might be a sign of a more serious issue such as a loose toilet bowl or deteriorating bolts. It’s always better to catch these problems early before they escalate.
Preparing to Tighten the Toilet Seat Bolts
Before you start any work, it’s a good idea to prepare the area and gather your tools. Here’s a step-by-step process to measure and get everything ready:
- Turn Off the Water Supply: Although tightening a seat doesn’t usually involve water, it’s a good habit to turn off the water supply in case you decide to go a step further and replace the seat or inspect the bowl. You’ll typically find the shut-off valve located behind or just below the toilet tank.
- Flush the Toilet: This step ensures that the tank is empty, preventing accidental leaks if you end up working near or around the cistern.
- Soak Up Excess Water: Use a sponge or towel to absorb any residual water around the base of the bowl. Keeping the area dry makes the process cleaner and more comfortable.
- Wear Gloves: Rubber or disposable gloves will protect your hands from germs and grime, especially if the toilet hasn’t been cleaned recently.
- Gather Your Tools: The essential tools for this task include an adjustable wrench, a flathead screwdriver, and potentially a pair of pliers. For seats with plastic bolts, you might only need a screwdriver.
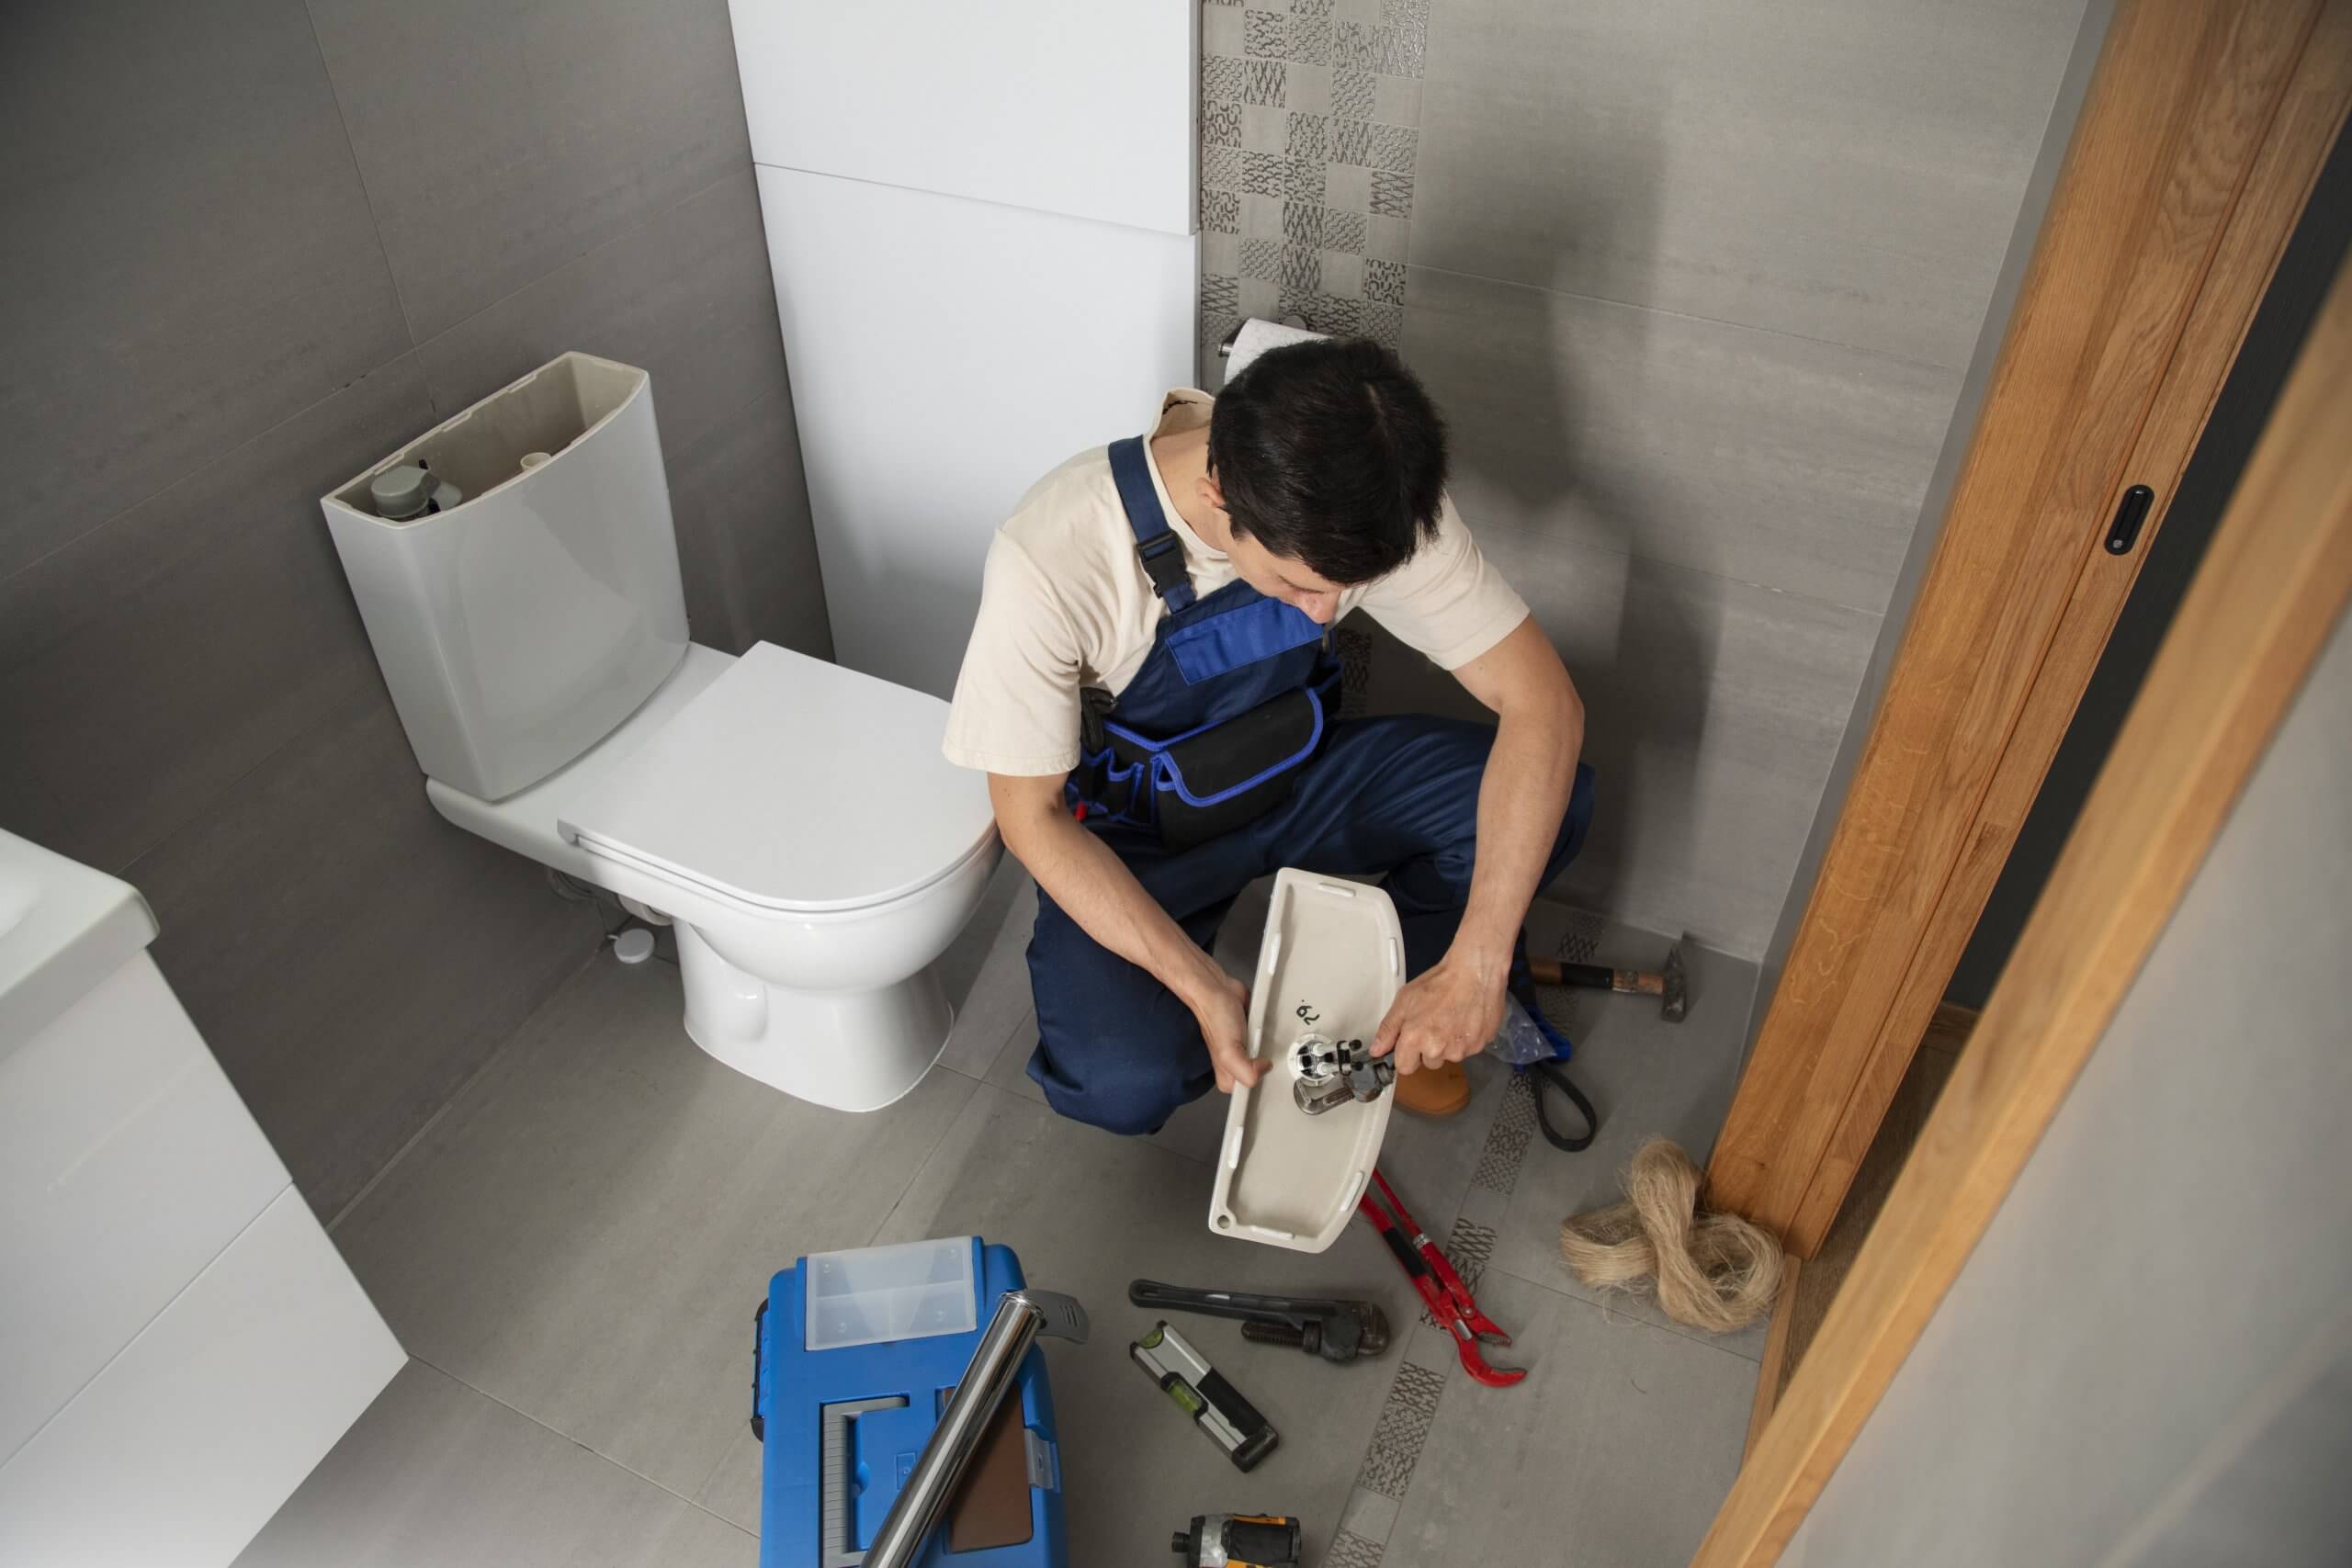
Accessing and Tightening the Toilet Seat Bolts
Once you’ve prepared the area, it’s time to access the bolts holding your toilet seat in place. Most toilet seats are attached using two bolts located at the back of the seat, near the center of tank. These bolts pass through the seat’s hinges and into the porcelain bowl. Here’s how to secure them:
- Locate the Bolts: Lift the plastic covers that protect the bolt heads. You’ll often find these hinged caps near the back of the toilet seat. Use your fingers or a flathead screwdriver to gently pry them open.
- Secure the Nuts Underneath: Beneath the toilet bowl, you’ll see the nuts that hold the bolts in place. If they’re metal, use an adjustable wrench. For plastic nuts, hand-tightening or using pliers should suffice.
- Tighten in Small Increments: Turn the wrench or screwdriver in quarter turns, clockwise, to gradually tighten the bolts. Avoid over-tightening, especially if your toilet is porcelain, as it could crack under pressure.
- Check for Movement: Once both bolts are secure, wiggle the seat gently. If it doesn’t budge, you’re good to go. If it still moves, you may need to remove the bolts completely and realign the seat before trying again.
- Reattach Covers: Snap the plastic bolt covers back in place once you’re satisfied with the seat’s stability.
- Cushioned or Decorative Seats: If your toilet has a cushioned or decorative seat, you might need to remove the seat first to access the bolts underneath. Refer to the manufacturer’s instructions if it’s unclear.
Troubleshooting Common Issues
Sometimes, tightening the bolts isn’t as straightforward as it sounds. Here are some common problems you might encounter and how to resolve them:
Rusty or Stuck Bolts
If your bolts are rusted or won’t budge, apply a penetrating lubricant like WD-40. Let it sit for 10–15 minutes before attempting to turn the bolts again. Be careful and cautious not to get lubricant on the toilet bowl, as it can become slippery.
Stripped Bolts or Nuts
If the bolt threads are damaged, you won’t be able to tighten them properly. In this case, replace the bolts entirely. Toilet seat tightening kits, available at most hardware stores, often include replacement bolts and nuts.
Loose After Tightening
If the seat remains loose even after tightening, check that the bolt holes in the bowl aren’t worn out. Rubber bushings can help provide extra grip and stability to fix this situation.
Plastic Seats Shifting
Lighter plastic seats can shift over time. Opting for a heavier-duty seat or an optional one with non-slip pads can help improve stability.
Replacing the Old Seat with a New One
Sometimes, tightening isn’t enough—especially if the seat is damaged or simply too old. Consider replacing your toilet seat if you don’t know how to tighten toilet seat :
- There are visible cracks, chips, or dents in the plastic, which can harbour bacteria and cause discomfort.
- You notice rust or corrosion on the hardware, which indicates deterioration.
- The hinges are broken or no longer align properly, making the seat difficult to secure.
- The seat is over 5–10 years old and showing signs of wear and tear.
Installing a New Toilet Seat
Replacing a toilet seat is a simple DIY task. Follow these steps:
- Turn Off Water Supply and Flush: Again, this is precautionary but a good practice for any toilet-related task.
- Remove the Old Seat: Unscrew the bolts from the top while securing the nuts from below. Once removed, discard the old seat and bolts if they’re rusted or damaged.
- Clean the Bowl Rim: Use disinfectant and a cloth to clean around the bolt holes and seat area. This is your chance to remove built-up grime.
- Install the New Seat: Align the new seat with the holes on the toilet bowl. Insert the bolts, then secure them with nuts underneath. Tighten until snug.
- Reconnect Water Supply and Test: Turn the water back on and give the seat a test wiggle. It should be firm and stable.
Choosing the Right Toilet Seat
When selecting a replacement seat for your body , keep the following in mind:
- Shape of the Bowl: Toilet bowls are typically round or elongated. Make sure the seat matches your bowl’s shape.
- Material: Plastic is lightweight and affordable, while wood offers a warmer, more traditional look. Stainless steel or hybrid models offer durability.
- Features: Consider soft-closing lids, quick-release hinges for easy cleaning, or even bidet attachments for extra comfort and hygiene.
- Ease of Cleaning: Smooth surfaces and quick-detach hinges make cleaning more manageable and efficient.
DIY Toilet Seat Replacement Tips
For those new to DIY tasks, here are a few extra tips:
- Follow Instructions: Manufacturers often include specific installation steps and tips. Read them thoroughly.
- Use the Right Tools: Avoid using makeshift tools, which can damage hardware or make the process more difficult.
- Work Slowly: Rushing can lead to misaligned parts or broken components.
- Ask for Help: If you’re unsure or uncomfortable at any point, consider asking a family member for assistance or calling a professional.
Getting Professional Help for Tricky Toilet Repairs
While tightening or replacing a toilet seat is usually manageable, some situations call for professional help:
- If the toilet bowl itself is loose, cracked, or leaking, a licensed plumber can determine if it needs replacing or if there’s a larger issue.
- If you’re dealing with rusted bolts that are impossible to remove, a professional will have the proper tools and experience.
- When in doubt, hiring a qualified plumber ensures the job is done safely and correctly.
Maintenance and Upkeep
A well-maintained toilet is more likely to function properly for years to come. Here are some round maintenance tips:
- Clean Regularly: Use a disinfectant cleaner to wipe the bowl and seat weekly. Don’t forget under the hinges.
- Check for Leaks: Periodically inspect the floor around your toilet for signs of water. This could indicate a faulty wax ring or loose fittings.
- Replace Small Parts: Flapper valves and seals inside the tank wear out over time. Replacing them is inexpensive and can prevent leaks.
- Annual Inspections: Have a plumber perform a routine check-up once a year, especially in older homes.
Conclusion
Tightening a loose toilet seat is a quick, simple fix that anyone can do with a few basic tools and a little patience. Regular checks and maintenance not only improve hygiene but also prevent long-term damage and costly repairs. If your toilet seat is damaged, outdated, or just won’t stay secure, consider replacing it with a new, more reliable model. And remember—there’s no shame in calling a licensed plumber if you ever feel out of your depth. A safe, sturdy, and clean toilet seat, along with steel screws, goes a long way in keeping your bathroom comfortable and functional.


Loading...