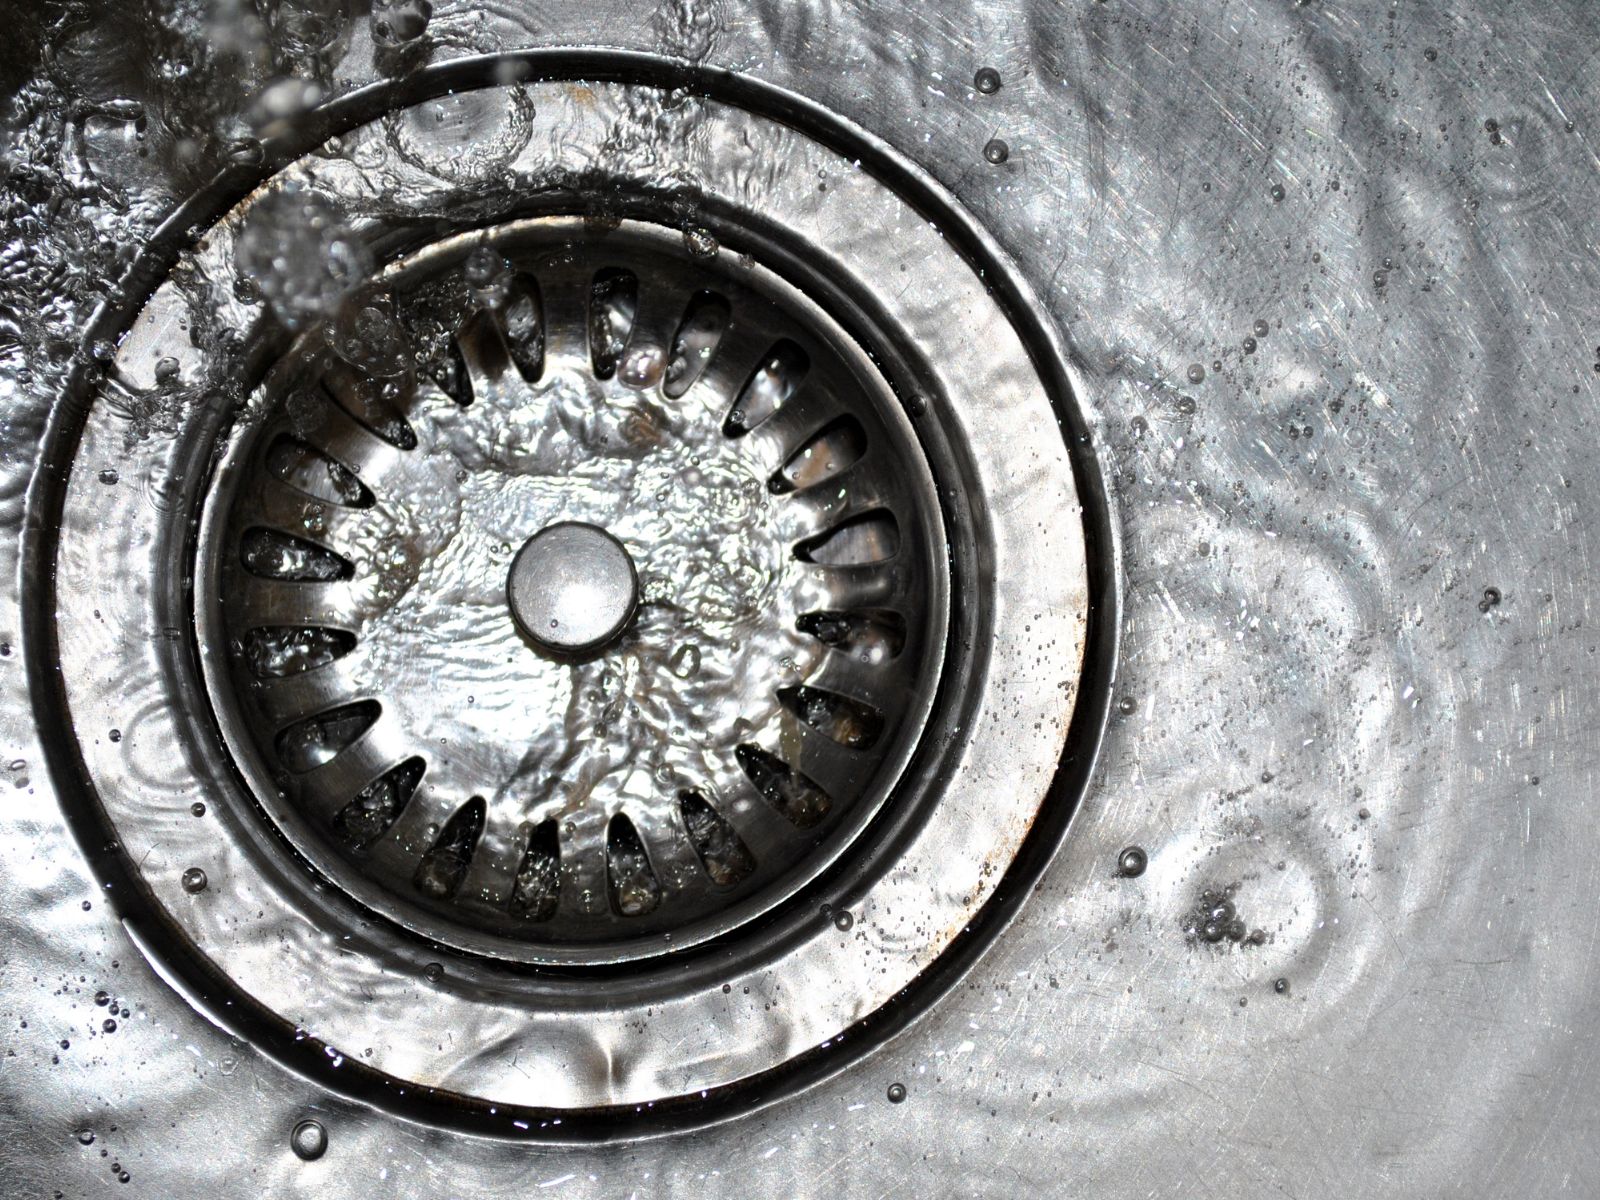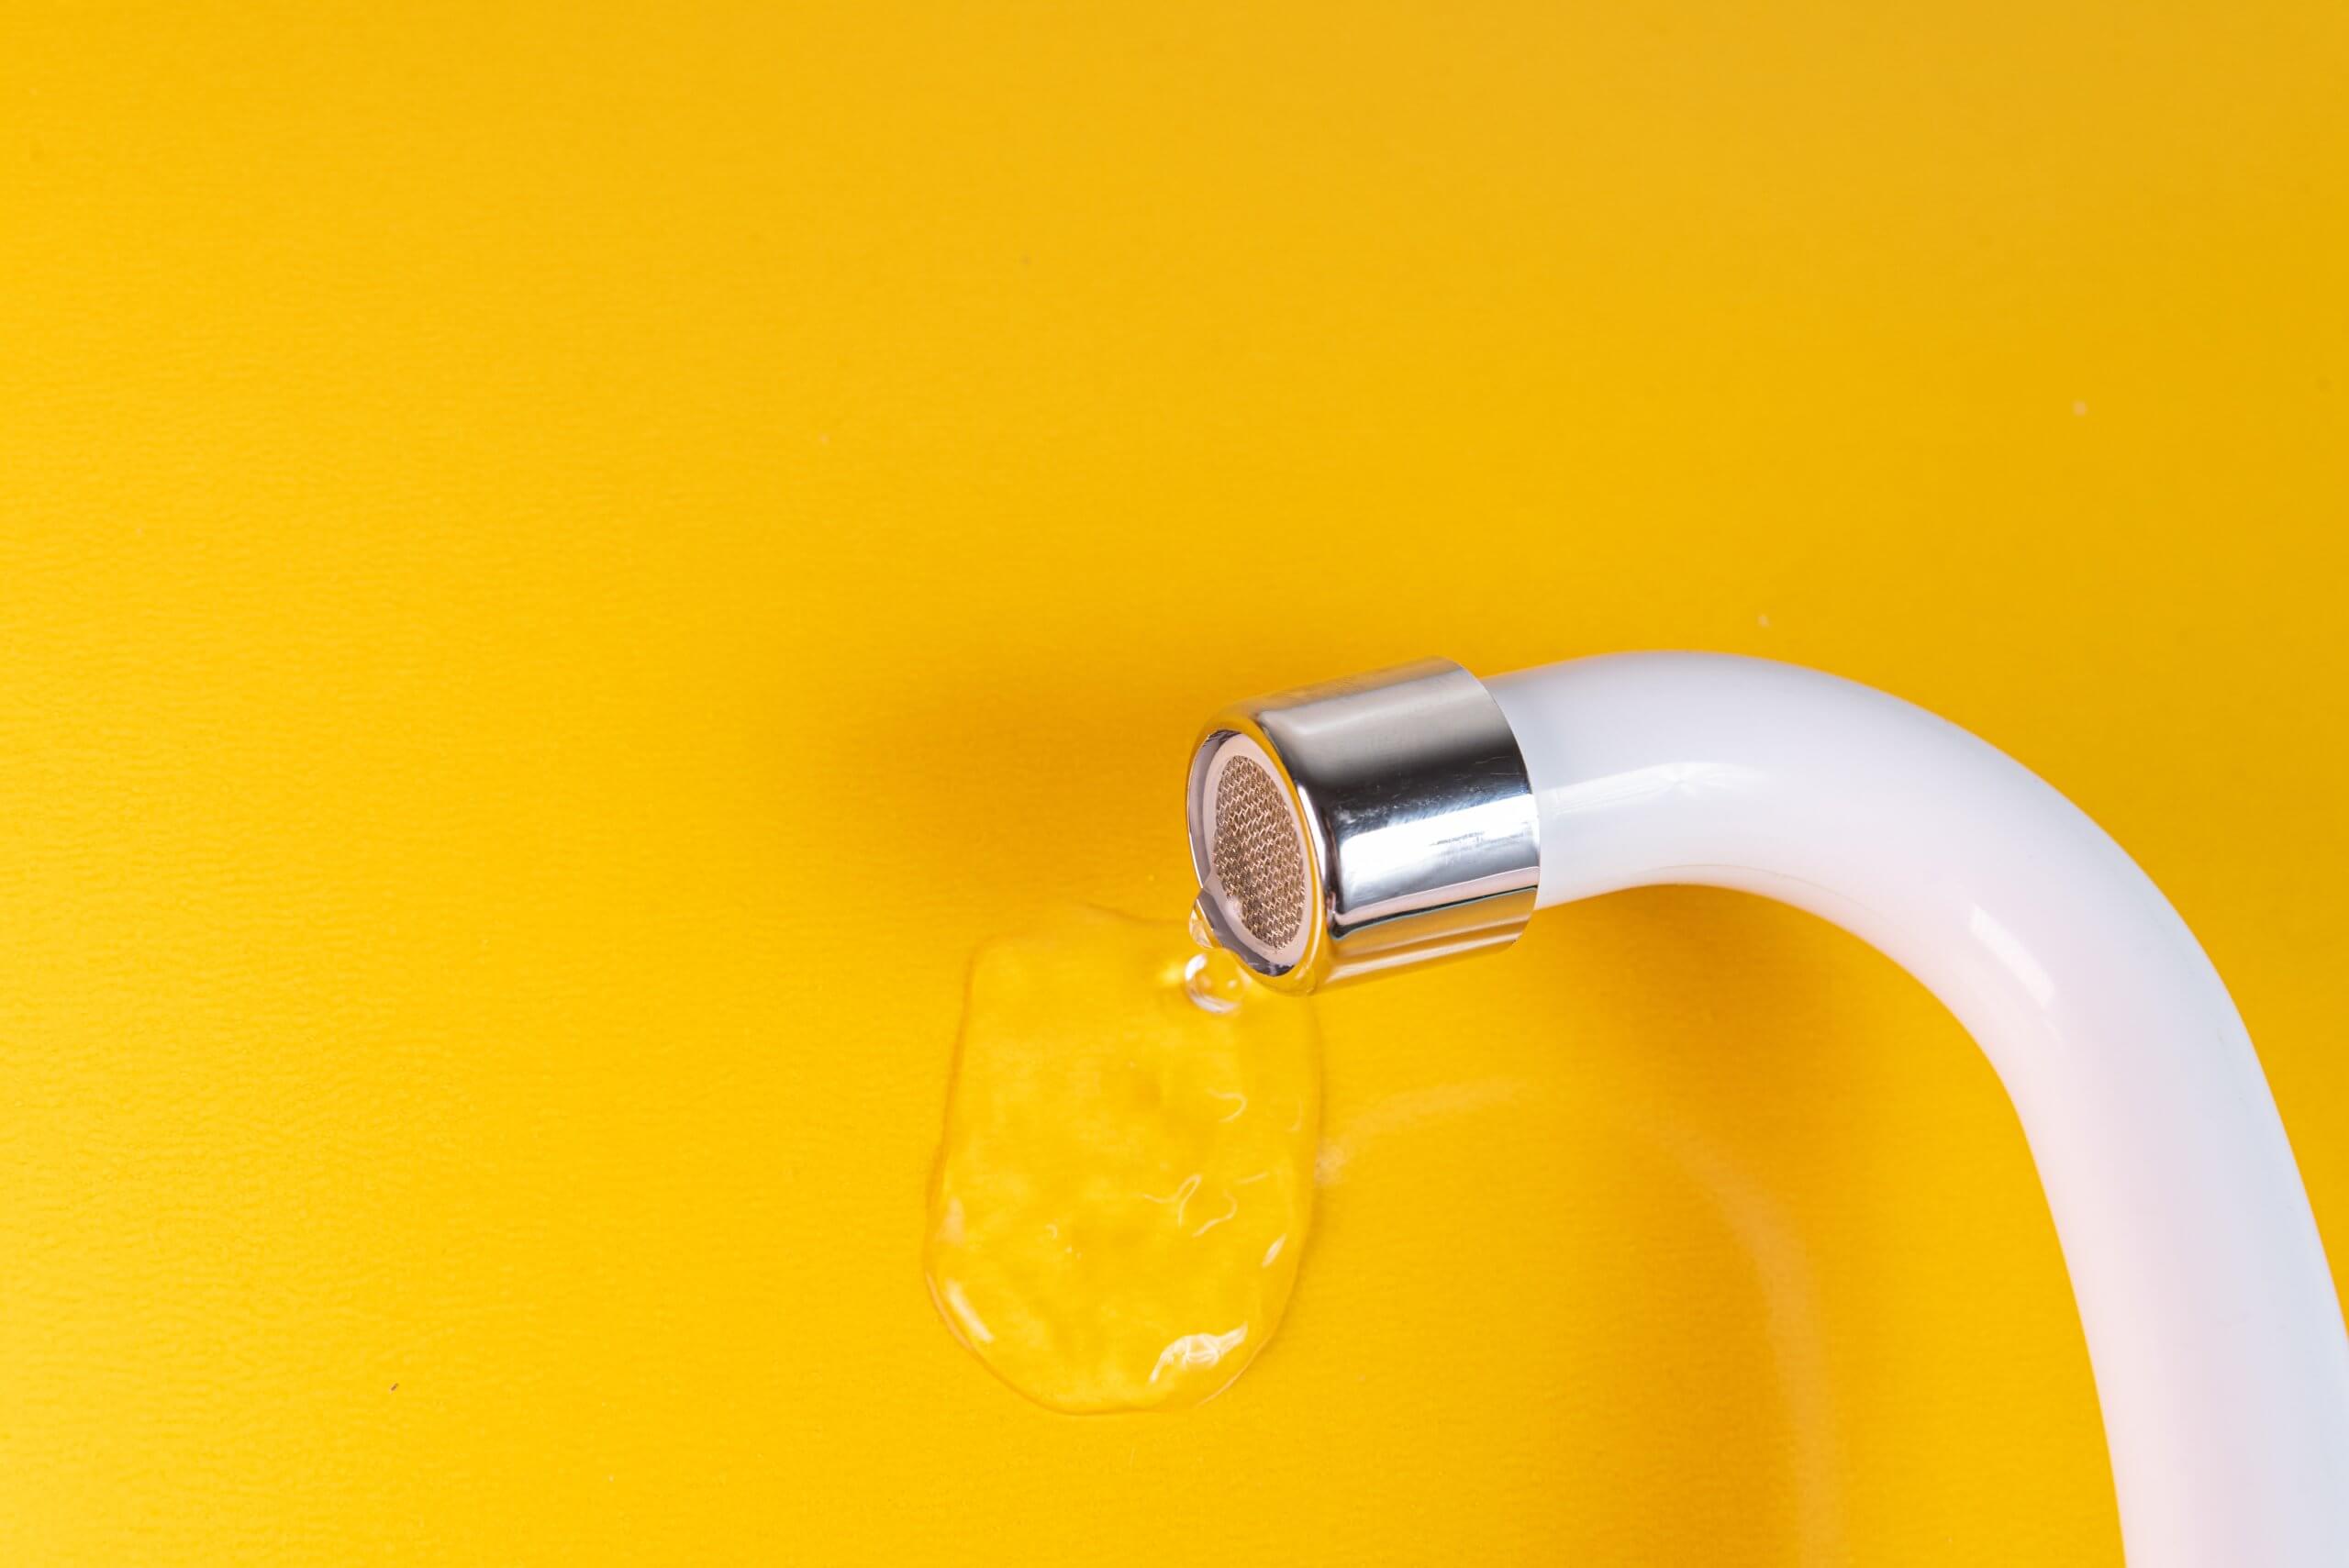
A dripping tap might seem like a minor annoyance, but left unchecked, it can lead to unnecessary water waste, higher utility bills, and potential damage to your fixtures and fittings. Fortunately, with a few tools and a bit of know-how, most Australian homeowners can fix a dripping tap themselves. This guide walks you through the process step by step, including how to stop dripping tap, and helps you decide when it’s time to call in the pros.
Why Fixing a Dripping Tap Matters
It’s easy to ignore a slow, steady drip—especially if it’s out of sight in the laundry or bathroom. But here’s why you shouldn’t ignore tap leaks :
Water waste adds up:
A single dripping tap can waste more than 20,000 litres of water a year—enough to fill a small backyard pool.
Higher water bills:
That wasted water can quickly show up on your quarterly statement, costing you more than necessary.
Damage to fixtures and surfaces:
Constant dripping can stain basins, corrode fittings, and encourage mould or mildew growth.
Environmental impact:
In a country where water conservation is critical, fixing leaks supports sustainable water use.
Common Causes of a Dripping Tap
Before you can fix the problem, it’s important to understand what might be causing it. The most common reasons include issues with compression valve taps :
Worn-out washers:
Traditional taps often have rubber or fibre washers that degrade over time.
Damaged O-rings:
These rubber seals help prevent leaks around the tap spout or handles.
Faulty cartridges:
Found in mixer taps and some quarter-turn taps—these can crack or clog.
High water pressure:
Excessive water pressure can wear down internal tap components more quickly.
Mineral or sediment build-up:
Especially in areas with hard water, debris can affect seal performance and water flow.
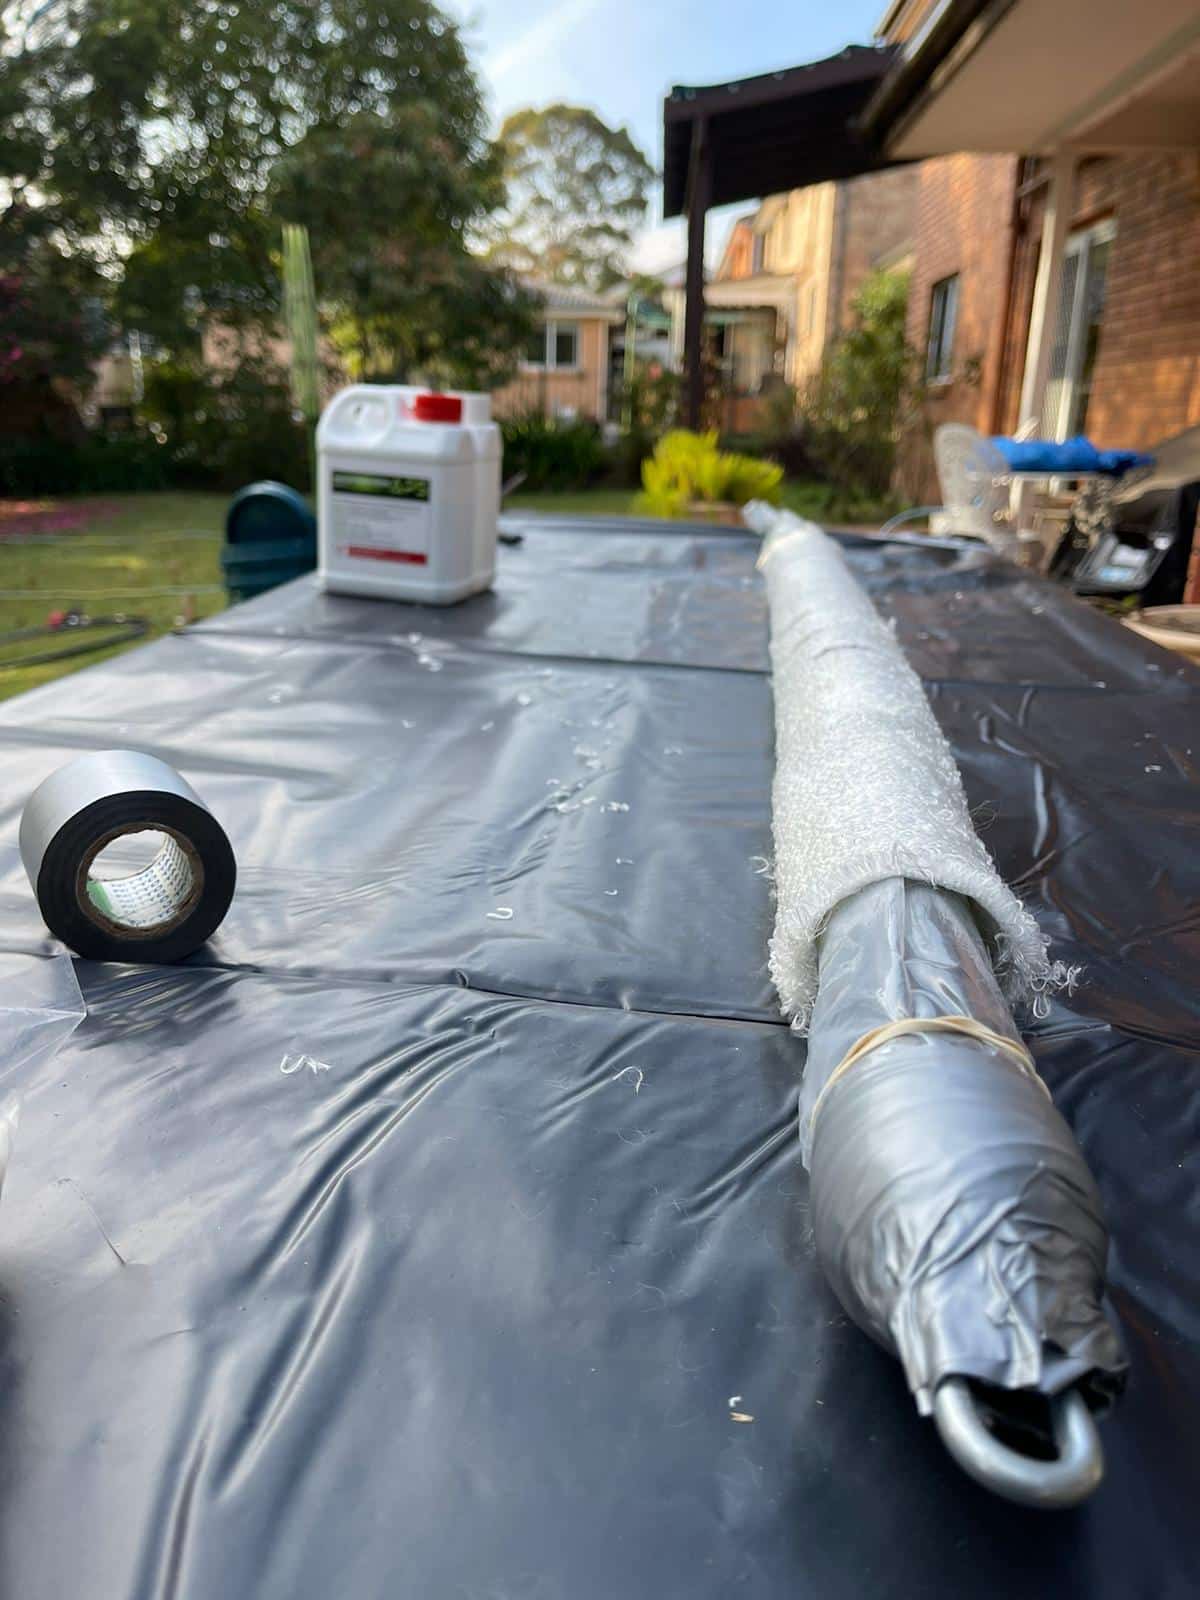
Tools and Materials You Might Need
You don’t need a full toolbox to fix a dripping tap. Most of the items below, including a tap washer, are commonly found in Australian households:
Essential Tools
Adjustable spanner or wrench
Flathead and Phillips screwdrivers
Tap reseating tool (for traditional spindle taps)
Allen keys (for mixer taps)
Needle-nose pliers
Replacement Parts
Washers (jumbo, standard, or specific to your tap)
O-rings
Tap cartridges (for mixers or ceramic disc taps)
Other Handy Items
Old towel or rag (to catch drips or protect surfaces)
Plumber’s grease or lubricant
Bucket or shallow container (to collect residual water)
Cleaning cloth or scrubbing brush (to remove mineral deposits)
Step-by-Step Guide to Fixing a Dripping Tap
Follow these general steps to repair a standard spindle tap or modern taps . If you have a mixer tap, see the next section for key differences.
1. Turn Off the Water Supply
Locate your isolation valves (under the sink) or turn off the mains. Run the tap until the flow stops completely.
2. Plug the Sink
Use a sink plug or rag to block the drain. This prevents small parts from falling in while you’re working.
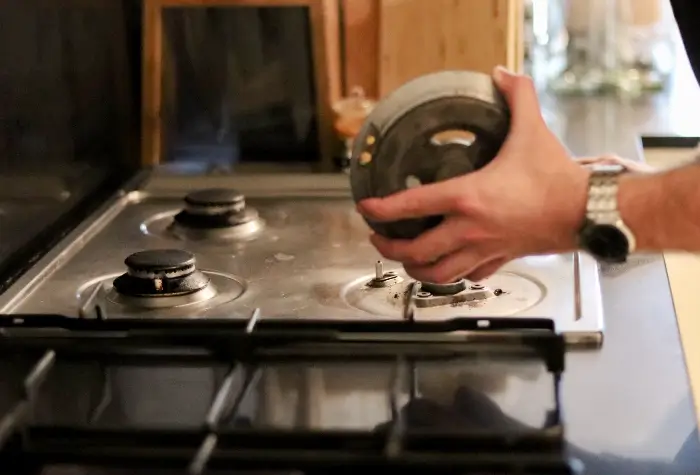
3. Remove the Tap Handle
Pry off the cover cap (usually hiding a screw), then unscrew and remove the handle.
4. Unscrew the Tap Bonnet
Use your spanner to loosen the tap bonnet and remove the tap body. Be gentle to avoid damaging the finish.
5. Remove and Inspect the Washer
Use pliers to remove the washer. Check for cracks, flattening, or wear. Replace with a washer of the same size.
6. Reseat the Tap (if necessary)
If the seat inside the tap body is rough or worn, check the body washer and use a tap reseating tool to smooth it out.
7. Replace O-rings or Lubricate
If water is leaking from the base of the spout, the O-ring or rubber ring may be worn. Replace it and apply plumber’s grease to moving parts.
8. Reassemble the Tap
Reinstall the tap in reverse order, ensuring to check the nut underneath making sure each component is aligned and secure.
9. Turn Water Back On and Test
Slowly turn the water supply back on and test the tap for leaks. Tighten any loose parts as needed.
Differences Between Tap Types
Not all taps are created equal. Understanding what type you have makes a big difference in your repair process:
Traditional spindle taps:
Most common in older Australian homes. Use washers and spindles that require periodic replacement.
Mixer taps:
Combine hot and cold water through a single spout, often using ceramic cartridges. May require Allen keys and specific cartridges.
Quarter-turn taps:
Operate with a simple 90° turn. These usually contain ceramic discs instead of rubber washers.
Tip: If you’re unsure of your tap type, take a photo and bring it to your local hardware store for help selecting the right parts.
Tips for Avoiding Future Drips
Regular maintenance, including ensuring the valve steady, can extend the life of your taps and reduce the risk of future leaks:
Don’t overtighten taps:
Turning them off too firmly can wear out washers and damage internal components.
Inspect taps annually:
Look for signs of corrosion, dripping, or difficulty turning.
Clean aerators and spouts:
Build-up from minerals can strain internal mechanisms.
Use high-quality replacement parts:
Cheaper washers or cartridges may degrade faster, costing more in the long run.
Install pressure-limiting valves:
If you live in an area with high water pressure, this can protect your entire plumbing system.
When to Call a Licensed Plumber
While many tap repairs, especially those involving jumper valve, are DIY-friendly, some situations warrant professional help:
The leak persists after replacing parts.
You’re dealing with a mixer tap and don’t have the tools or experience.
The tap is built into the wall or features non-standard fittings.
The water pressure is too high or inconsistent.
You notice signs of water damage, mould, or internal pipe leaks.
In Australia, any work involving pipework or major mains tap modifications should be performed by a licensed plumber, as per local regulations.
Frequently Asked Questions (FAQs)
How to fix a dripping drinking water tap?
Turn off the supply, disassemble the tap, and replace the washer or cartridge. Ensure all components are rated safe for potable water.
What causes a tap to drip?
Common causes of tap drips include worn washers, degraded O-rings, high water pressure, or mineral build-up inside the tap mechanism.
Can I fix a leaking tap myself?
Yes, most homeowners can handle a basic tap repair. Just be sure to turn off the water supply first and use the right tools.
What does it mean when your tap is dripping water?
It usually means a seal inside the tap has worn out, or pressure is forcing water through a weak spot in the mechanism.
How do I stop my faucet from dripping?
Identify the tap type, turn off the water, disassemble the tap, and replace the faulty washer, O-ring, or cartridge.
How do you stop a tap from making a dripping sound?
Fixing the actual drip will stop the noise. You can also use a soft cloth or other soft materials (e.g., cloth in the sink) to dampen the sound temporarily.
How to fix a dripping laundry tap?
Laundry taps are often traditional spindle taps. If it’s a single lever tap, replace the washer or reseat the tap. If it’s a mixer, replace the cartridge.