Noticed an annoying drip from your tap that just won’t quit? It might be time to learn how to change a washer on a mixer tap. This simple yet effective DIY plumbing fix can save you from wasting water, running up your utility bill, and calling in a professional for a job you can do yourself. Whether you’re dealing with a leaky kitchen tap or a bathroom mixer that’s seen better days, this guide will walk you through each step to get things flowing smoothly again—no special plumbing skills required.
Understanding Mixer Taps
A mixer tap, which includes a tap valve, is a common plumbing fixture found in most Australian households, especially in kitchen sinks, bathroom basins, and laundry troughs. Unlike traditional separate hot and cold taps, a mixer tap combines both hot and cold water through a single spout, giving you control over the water temperature with just one lever or handle.
They are praised for their sleek design, space-saving functionality, and ease of use, including the efficiency of mixer tap washers making them a popular choice in modern homes.
How Does a Mixer Tap Work?
Mixer taps regulate water flow and temperature using either a ceramic cartridge or a tap washer.
- A tap washer is a traditional rubber or nylon seal that compresses to stop the flow of water when the tap is turned off.
- Ceramic cartridges, on the other hand, are a more modern mechanism involving two interlocking ceramic discs that open and close to control water flow.
Over time, washers (and even ceramic cartridges) can wear out or become damaged, leading to annoying drips or leaks—and that’s when it’s time to roll up your sleeves.
How to Change a Washer on a Mixer Tap?
Before you start dismantling anything, make sure you’re properly prepared with the right tools and materials.
Tools and Materials You’ll Need:
- Adjustable spanner (shifter)
- Flathead screwdriver
- Pliers
- New tap washer (make sure it’s the right size)
- Replacement O-ring (if required)
- Ceramic disc cartridge (only if your tap uses one and it needs replacing)
- Cloth or towel (to protect your fixtures)
- Bucket or container (to catch any water)
- Old toothbrush or cloth (for cleaning the tap components)
Turning Off the Water Supply
This is a crucial step. Before you do anything, shut off the water supply to prevent flooding or further leaks from a leaky tap.
- Locate the isolation valve under the sink (usually near the water pipes) and turn it clockwise to stop the flow.
- If you can’t find the isolation valve, turn off the main stopcock—usually located outside near the water metre.
- Turn on the tap to release any residual water still in the pipes.
- Cover the plug hole with a cloth or sink plug to stop any small parts from falling down the drain.
Emptying the Pipes
Once the water is off:
- Open both the hot and cold sides of the mixer tap fully.
- Let the remaining water drain out completely.
- Use a bucket or container underneath in case there’s still a bit of water in the tap body.
Disassembling the Tap
This part requires a bit of care and patience. Let’s take it step by step.
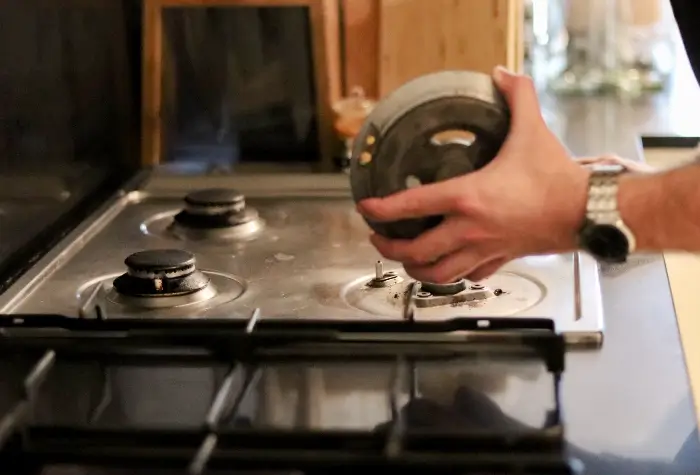
Removing the Tap Headgear
- First, remove any decorative cap on the top of the tap handle to expose the screw underneath. You can usually pop it off gently with a flathead screwdriver.
- Once exposed, unscrew the fixing screw and carefully remove the handle or lever.
- You should now see the tap body (or headgear), which may be secured with a nut. Use your adjustable spanner to loosen and remove it.
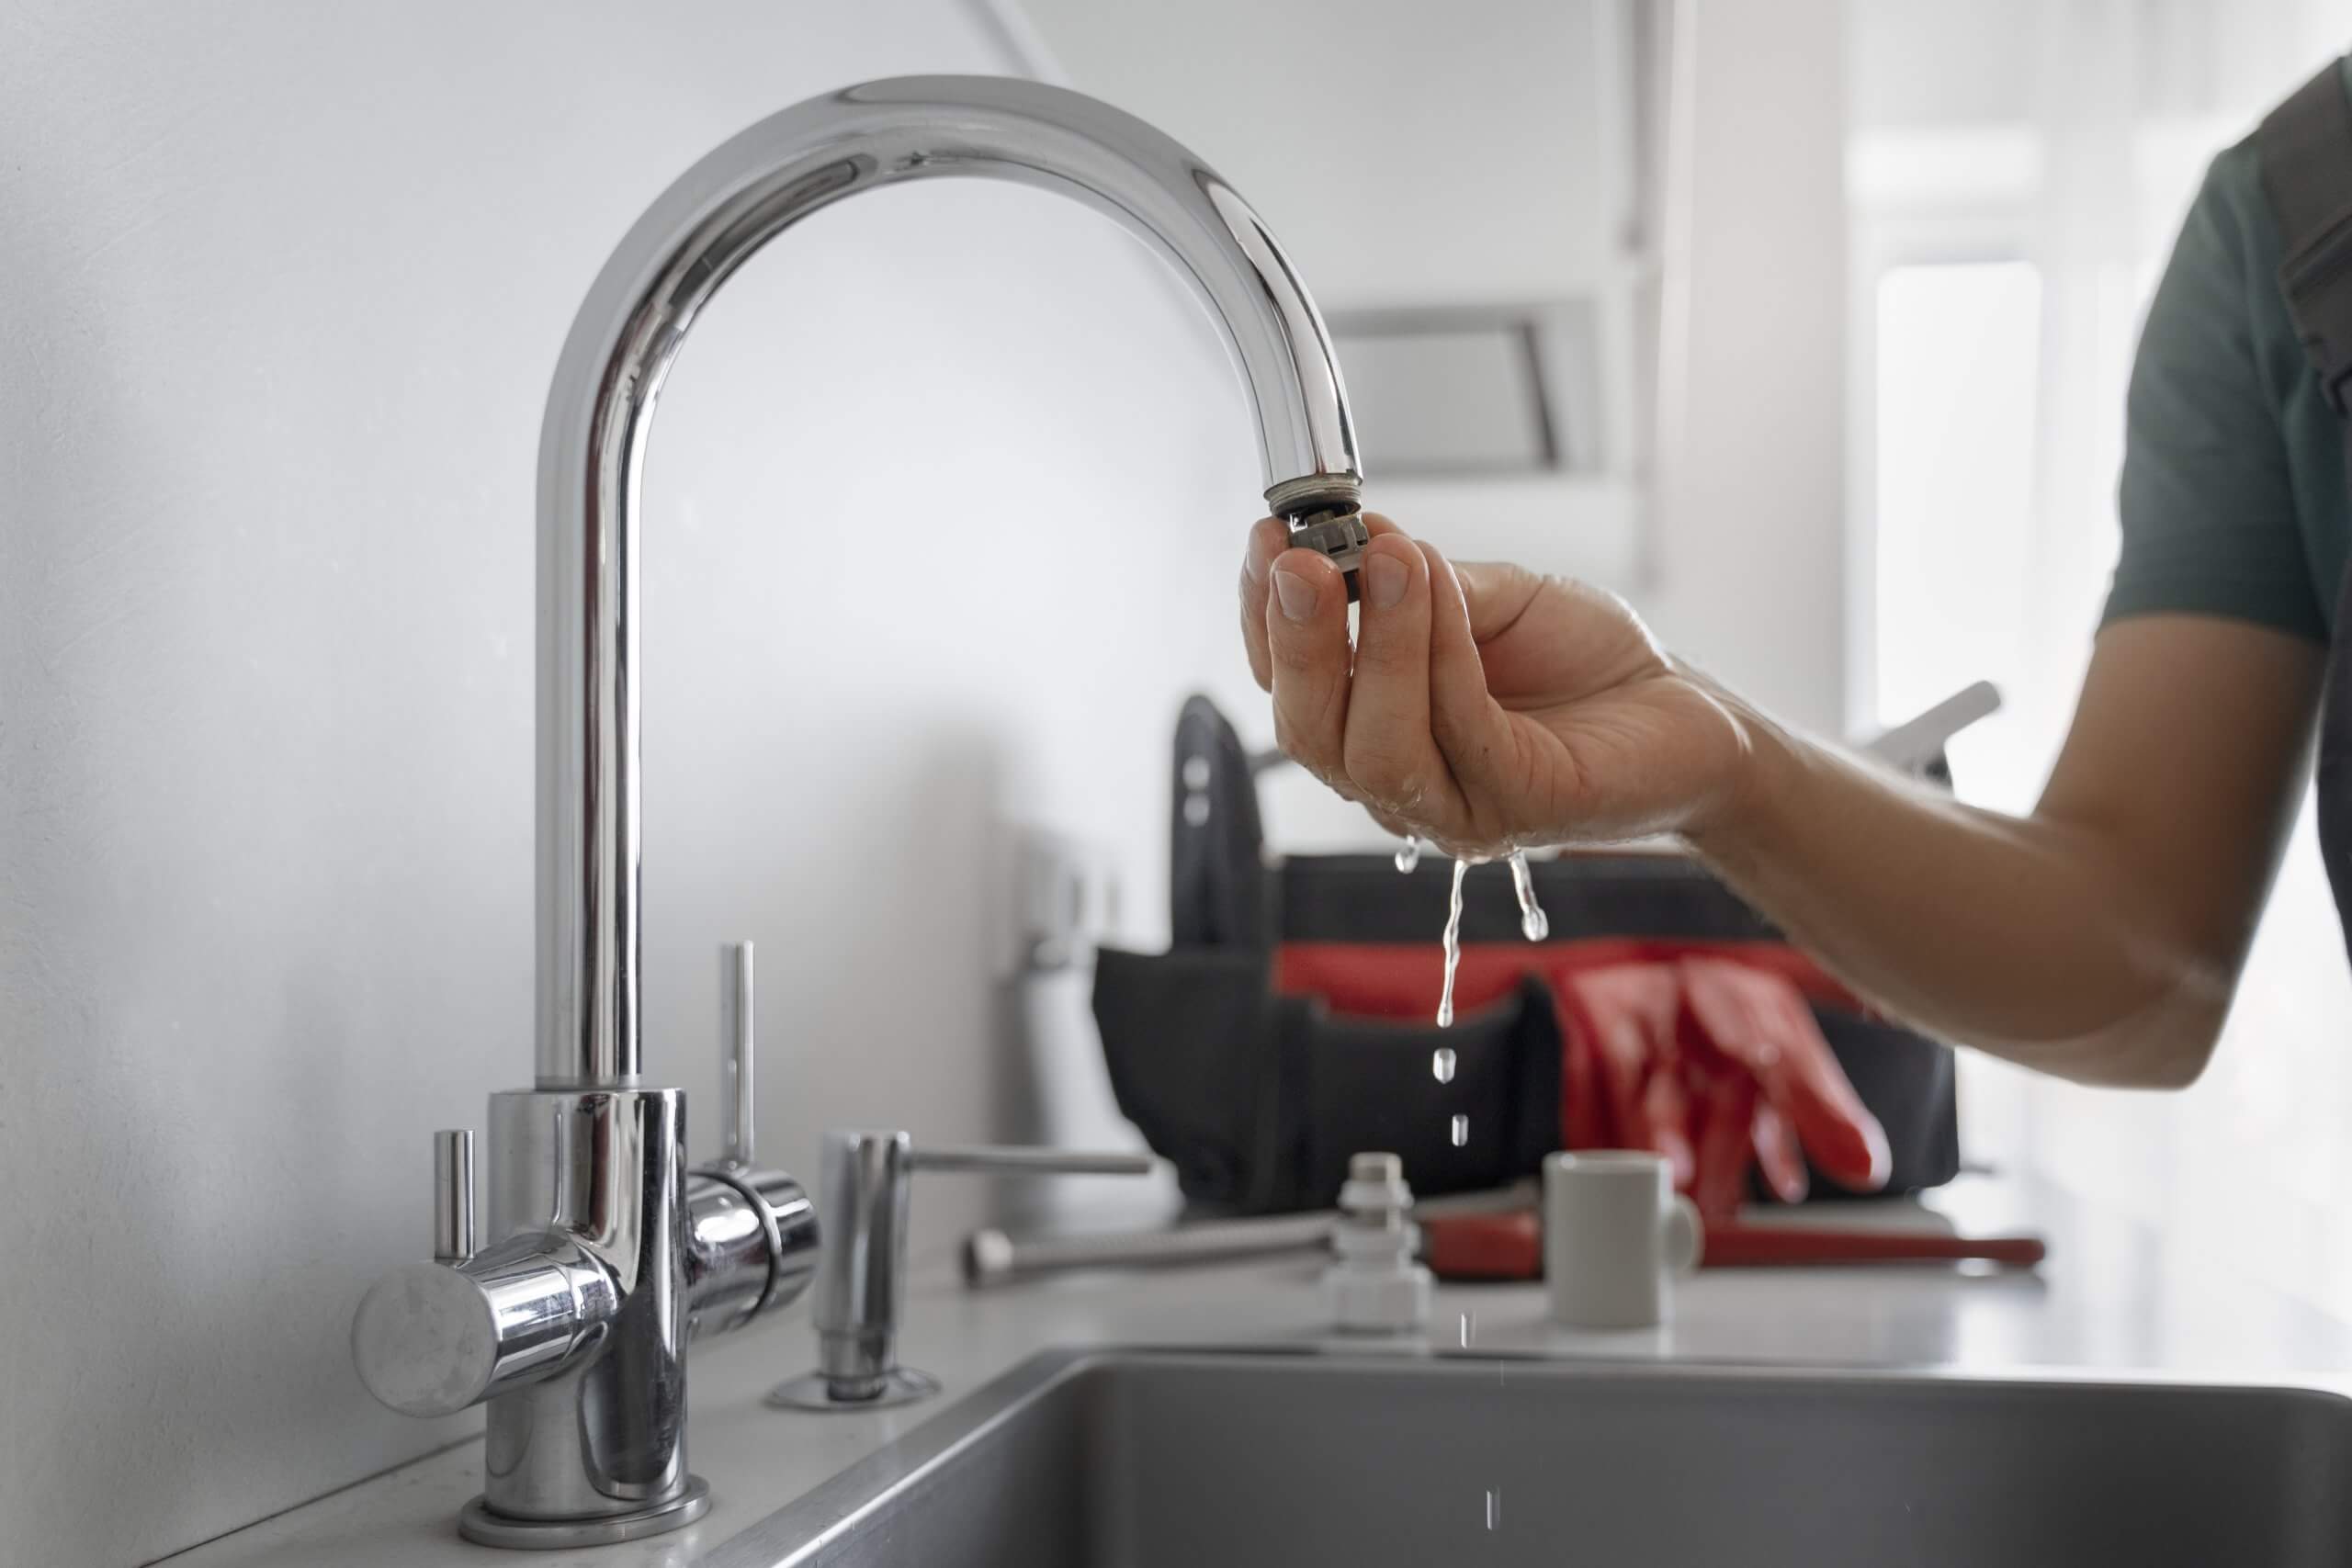
Removing the Spout from the Mixer Tap
To access the washer or O-ring:
- Look at the base of the spout—some spouts are held in place with a retaining clip, small screw, or snap ring.
- Use pliers or a screwdriver to remove the clip or screw.
- Gently pull the spout upwards. If it’s stuck, gently wiggle it side-to-side while pulling.
Unsealing and Locating the Washer
With the spout removed, you’ll be able to see the washer or seal inside the neck of the mixer tap, which is essential for creating a watertight seal. This is the part responsible for forming a tight seal and preventing leaks.
Replacing the Washer
Removing the Old Washer
- Use a flathead screwdriver or your fingers to gently pry out the old washer.
- Inspect it carefully—if it looks cracked, hardened, or misshapen, it’s definitely time for a replacement.
Installing the New Washer
- Place the new washer exactly where the old one was, ensuring it sits snugly and flat.
- Double-check that it matches the original in size and shape. If it’s too big or small, it may not seal properly.
Replacing the O-Ring (If Necessary)
Sometimes, the leak comes from the base of the spout, not the tap body. This could mean a worn O-ring is the culprit.
- Look around the spout base for the rubber O-ring.
- Use a small screwdriver or pick tool to carefully hook out the old O-ring.
- Lubricate the new O-ring with a bit of plumber’s grease and slide it into place.
Reassembling the Tap
Reattaching the Spout
- Slide the spout back into the tap body.
- Secure it using the retaining clip or screw.
- Make sure it’s seated properly to avoid leaks around the base.
Replacing the Tap Headgear
- Screw the tap body (headgear) back into place using the adjustable spanner—don’t overtighten.
- Reattach the handle or lever and replace the cap.
- Tighten all screws and fittings securely.
Turning the Water Back On
- Slowly turn the isolation valve or main water supply back on.
- Test the tap by running both hot and cold water.
- Check for any leaks around the spout or base.
- If everything is dry and the tap runs smoothly—you’ve done it!
Troubleshooting a Dripping Mixer Tap
Common Causes of a Drip
- Worn or perished tap washer
- Damaged ceramic cartridge (in modern taps)
- Faulty O-rings
- Poor installation or misaligned components
Replacing a washer or cartridge usually solves the problem, but if leaks persist, you may need to replace the entire tap or consult a plumber.
Why Do I Need to Change My Tap Washer?
Tap washers wear out over time due to friction, water pressure, and temperature changes. If ignored, a simple leak can lead to future leaks:
- Waste water
- Increase your water bills
- Cause long-term damage to your sink or countertop
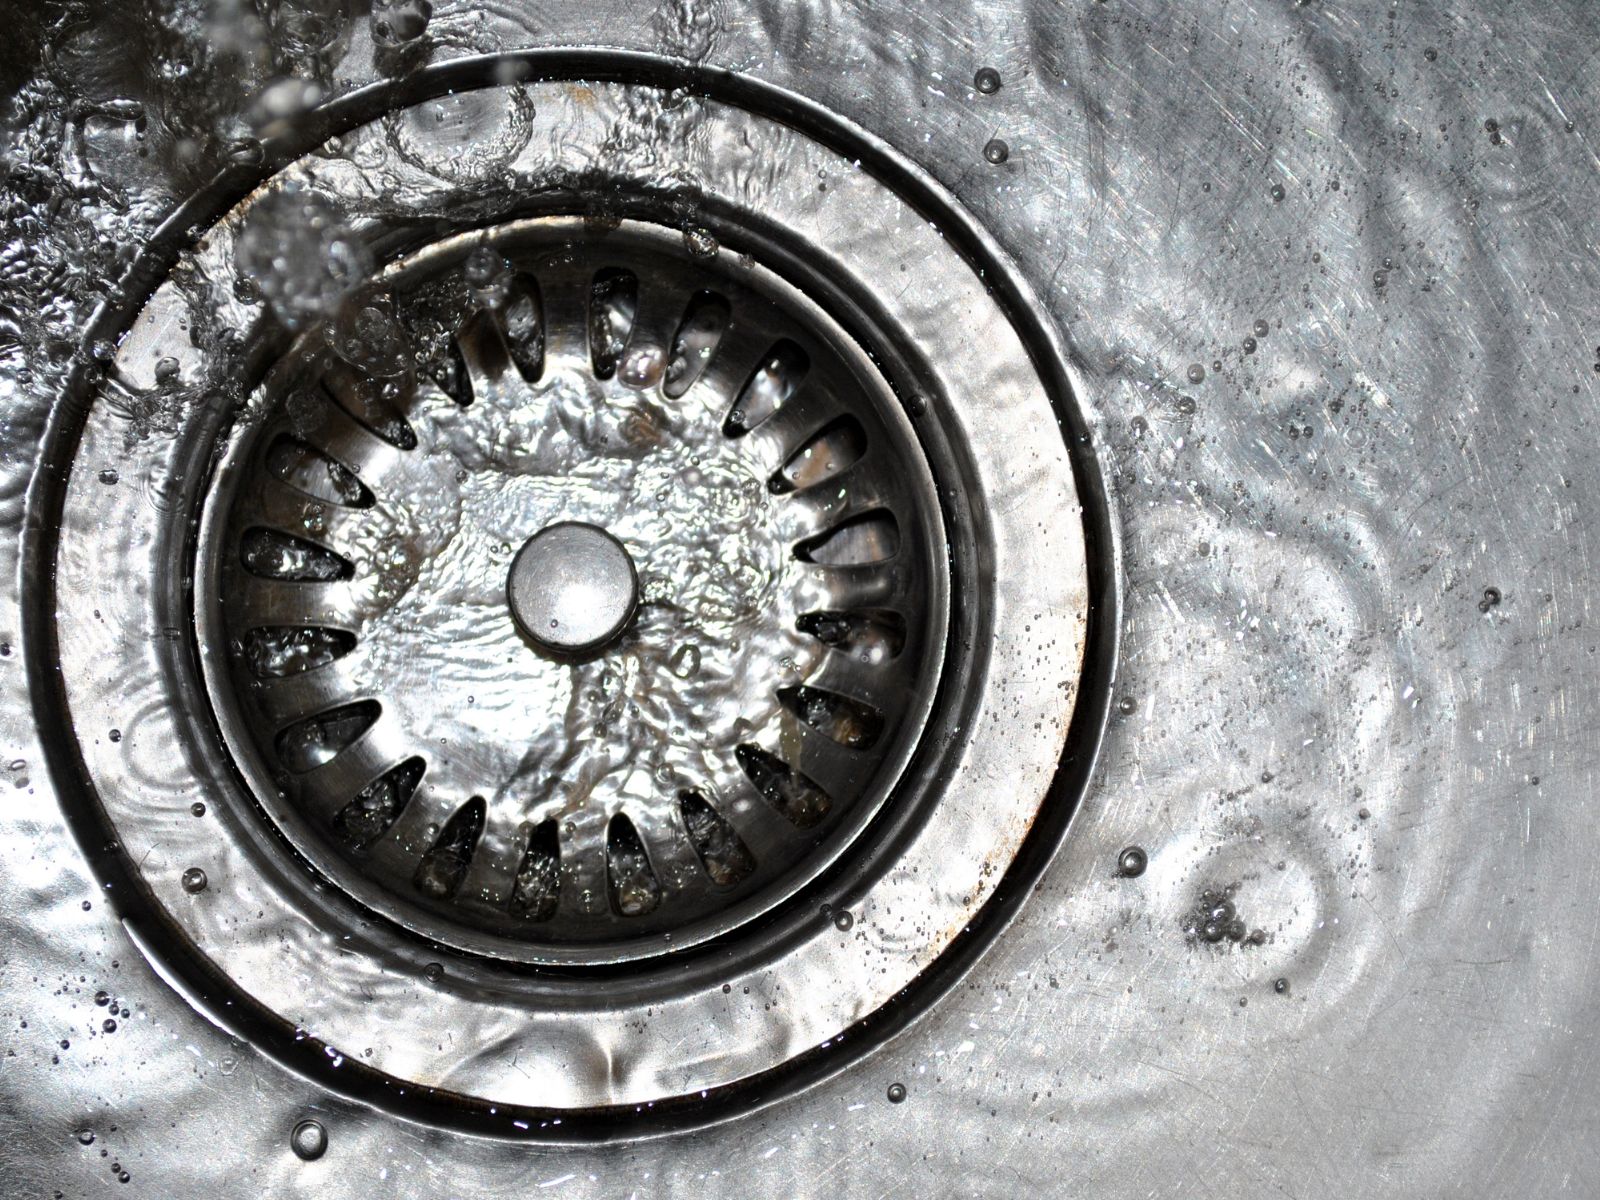
How Much Water Does a Dripping Tap Waste?
A dripping tap can waste up to half a litre an hour—that’s roughly 12 litres a day, or over 4,000 litres a year!
In Australia, where water conservation is crucial, that’s a serious waste of resources—and money.
Choosing the Right Tap Washer
Here are some of the common types of tap washers used in Australia:
- Nylon washers – Durable, low-friction, and the most commonly used.
- Rubber or polythene washers – More flexible, ideal for bathroom or shower taps.
- Fibre washers – Hard and heat-treated, good for high-pressure applications.
- Ceramic disc cartridges – Used in modern taps and often sold as complete cartridges, not just washers.
Always check your tap model or bring the old washer to the hardware store to get the correct replacement.
Fixing a Leaky Mixer Tap with Hot Water
If your hot side is dripping, the washer or cartridge may be worn from heat exposure. Simply replace it the same way as described above—just make sure to get the right side washer (some taps use different parts for hot and cold).
Change a Washer with Confidence
By following this step-by-step guide, you’ve got the know-how to take on a classic DIY plumbing task. Whether you’re in the kitchen, bathroom, or laundry, fixing a dripping mixer tap is well within your reach.
But hey—if you’ve replaced the washer and the tap still leaks, or if you’re feeling unsure, don’t be afraid to call in professional plumbers or a licensed plumber. Safety and peace of mind are worth it.
Conclusion
Changing a tap washer might seem intimidating at first, but with a little preparation and the right tools, it’s a straightforward job that can save you money and water. Regular tap maintenance can also help you avoid bigger plumbing issues down the track.
So next time your mixer tap starts dripping, don’t stress—grab your tools and give it a go!
Frequently Asked Questions (FAQs)
Can you replace washers in standard tap mixer taps?
Yes, depending on the model. Some use traditional washers, while others use ceramic cartridges.
How do you fix a dripping kitchen mixer tap?
Turn off the water supply, dismantle the tap, and replace the washer or cartridge as needed.
How do you replace an O-ring in a mixer tap?
Remove the spout, locate the worn O-ring, and replace it with a new one using a small screwdriver or pick.
Do you need a plumber to replace a mixer tap?
Not necessarily. Many tap repairs are DIY-friendly, but if you’re unsure or the issue persists, it’s best to call a licensed